IR Proximity Sensor
Description
IR (Infrared) proximity sensors are commonly used to detect the presence or proximity of objects without physical contact. They emit infrared light and measure the reflection or absence of the light to determine the distance to an object. These sensors are widely used in various applications, such as robotics, automation, and security systems.
Sensor Details
IR proximity sensors come in different types, such as analog output sensors that provide a continuous range of values corresponding to distance, or digital output sensors that provide a binary signal indicating the presence or absence of an object within a specific range.
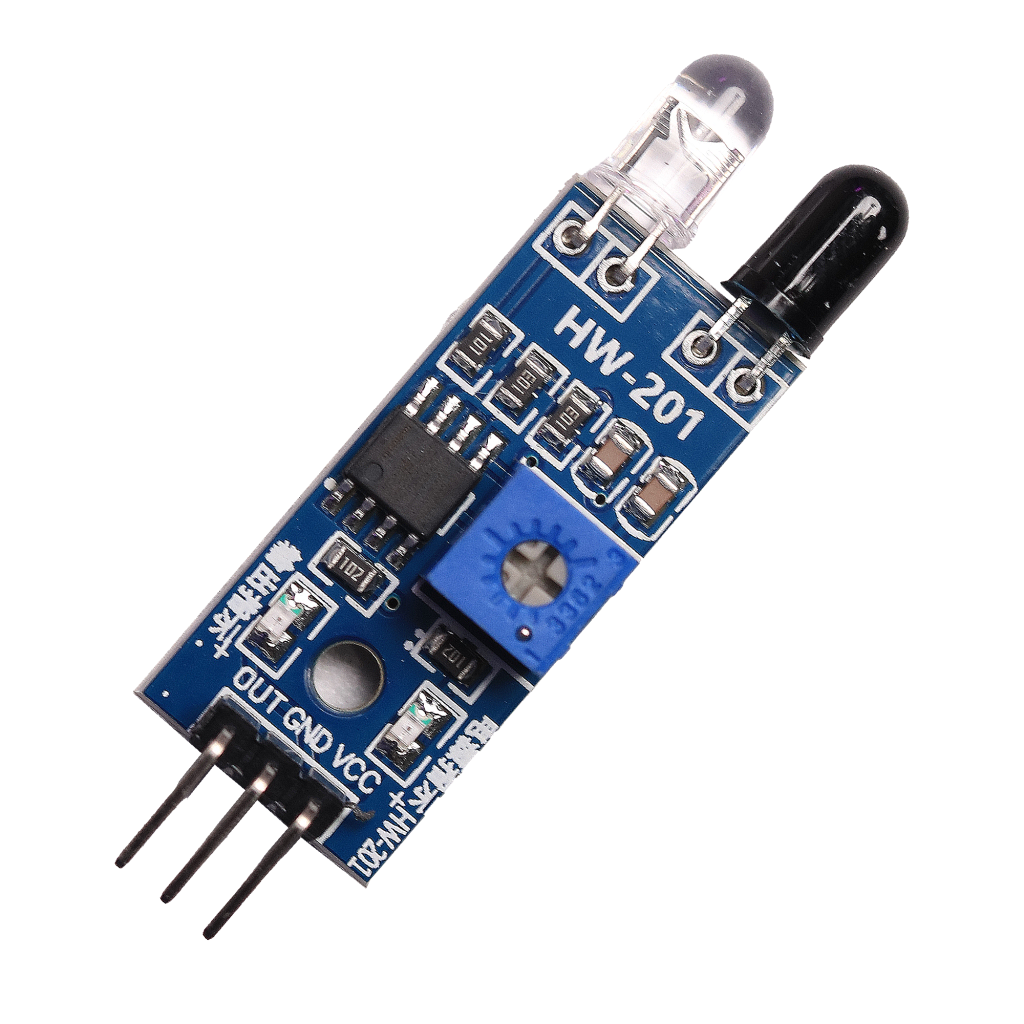
When using an IR proximity sensor with an Arduino or other microcontroller, you typically connect the power supply (Vcc) and ground (GND) pins of the sensor to the appropriate pins on the Arduino board. The output pin (analog or digital) is connected to a digital or analog input pin on the Arduino for reading the sensor data.
Wiring Details
Identify the pins of the IR proximity sensor. It typically has three pins: Vcc (power supply), GND (ground), and Vo (analog output).
Connect the Vcc pin of the proximity sensor to the 5V pin on the Arduino board.
Connect the GND pin of the proximity sensor to any GND pin on the Arduino board.
Connect the Vo pin of the proximity sensor to any analog input pin on the Arduino board. In this example, let's use analog pin A0.
Circuit Image

Circuit Code
const int sensorPin = A0;

void setup() {

Serial.begin(9600);

}

void loop() {

int sensorValue = analogRead(sensorPin);

Serial.print("Sensor Value: ");

Serial.println(sensorValue);

delay(500); // Adjust the delay as desired

}